Checklist
Makerspace Tour Checklist: What to Notice Before You Join
Updated June 11, 2026
Questions get you the official answers; your eyes get you the real ones. This is the observation checklist — what to actually look at, listen for, and smell (yes, smell) while the tour guide is talking.
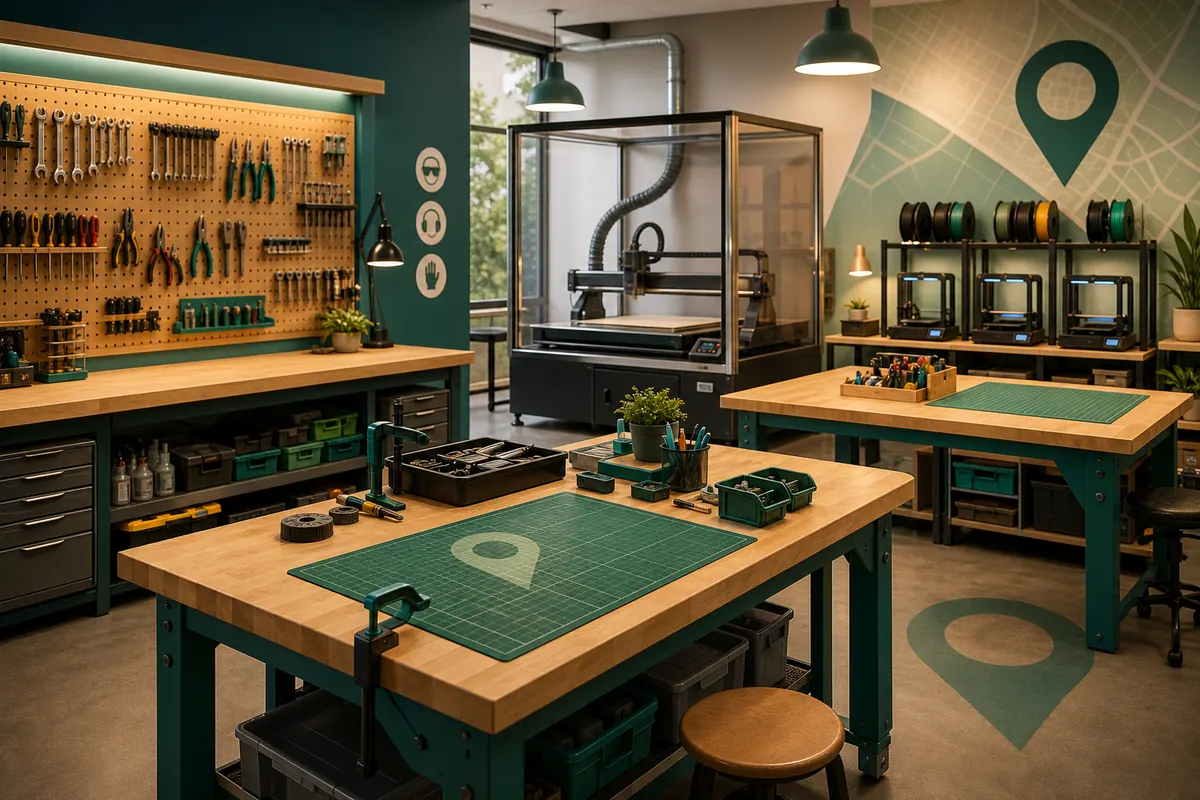
At the machines
- ☐ Are guards installed on saws and grinders — or hanging on a hook nearby?
- ☐ Do machines have status tags? Is anything red-tagged right now? (Zero broken machines ever is less believable than one, clearly labeled.)
- ☐ Are blades/bits sharp and clean? Ask when blades were last changed and watch whether anyone knows.
- ☐ Is there a posted material list at the laser? (Why this matters.)
- ☐ Are work surfaces flat, clean, and free of dried glue archaeology?
In the air
- ☐ Breathe near the woodshop: fine dust haze means failing collection. (The dust test.)
- ☐ Solvent smell outside the finishing area means ventilation problems.
- ☐ Is fume extraction at the solder benches present and actually switched on?
On the walls and shelves
- ☐ Posted safety rules, emergency procedures, and a visible first aid kit (check the inspection tag).
- ☐ A maintenance log or tool-status board that's current — not from last March.
- ☐ Storage shelves: labeled and dated projects, or an abandoned-project graveyard? Graveyards mean unenforced policies.
- ☐ Class calendar: full and recent, or three classes a year?
Among the people
- ☐ Does anyone greet you besides your guide?
- ☐ Are members wearing safety glasses without being told? Culture is what happens unprompted.
- ☐ Is anyone teaching anyone? Help happening organically is the best signal a space offers.
- ☐ Do the current projects look like yours? A costume builder in an all-CNC shop will be lonely.
Logistics you only catch in person
- ☐ Parking and load-in: how far does a sheet of plywood travel from car to saw?
- ☐ Will your project fit through the door / in the storage / in your car?
- ☐ Bathroom check — seriously. It predicts every other cleaning standard in the building.
- ☐ Visit again at the hour you'd actually attend before signing anything.
Pair this with the question list. What you see fills half the picture; what you ask fills the rest. Together they take one tour and fifteen minutes.
Touring with kids in mind?
Add the family layer: are youth hours real and staffed, is there equipment at kid skill levels, and do other families actually use the space? Structured programs — a library lab plus a maker education program like OCreate — are often the better first year for young makers; see family-friendly makerspaces.
Frequently asked questions
What's the single most revealing thing to observe?
Whether members wear safety glasses when nobody's watching. It's the visible tip of the entire safety culture — and safety culture predicts maintenance, training quality, and how conflicts get handled.
Should I tour announced or just drop in?
Both: take the official tour for answers and access, then drop in during open hours (most spaces allow visitors) at the time you'd actually attend. The delta between the two visits is the marketing.
How long should a tour take?
A real one runs 30–45 minutes. A ten-minute walkthrough that ends at the payment form isn't a tour, it's a funnel — treat it as a red flag and ask to see the shop properly.